This is the second part of the bookbinding process for creating a simple book/journal. Please read the first part here!!
So by this stage, you should have all pages printed out and ready to put together as a book. Even if you have printed your work in a different way, you can still follow the binding steps below.
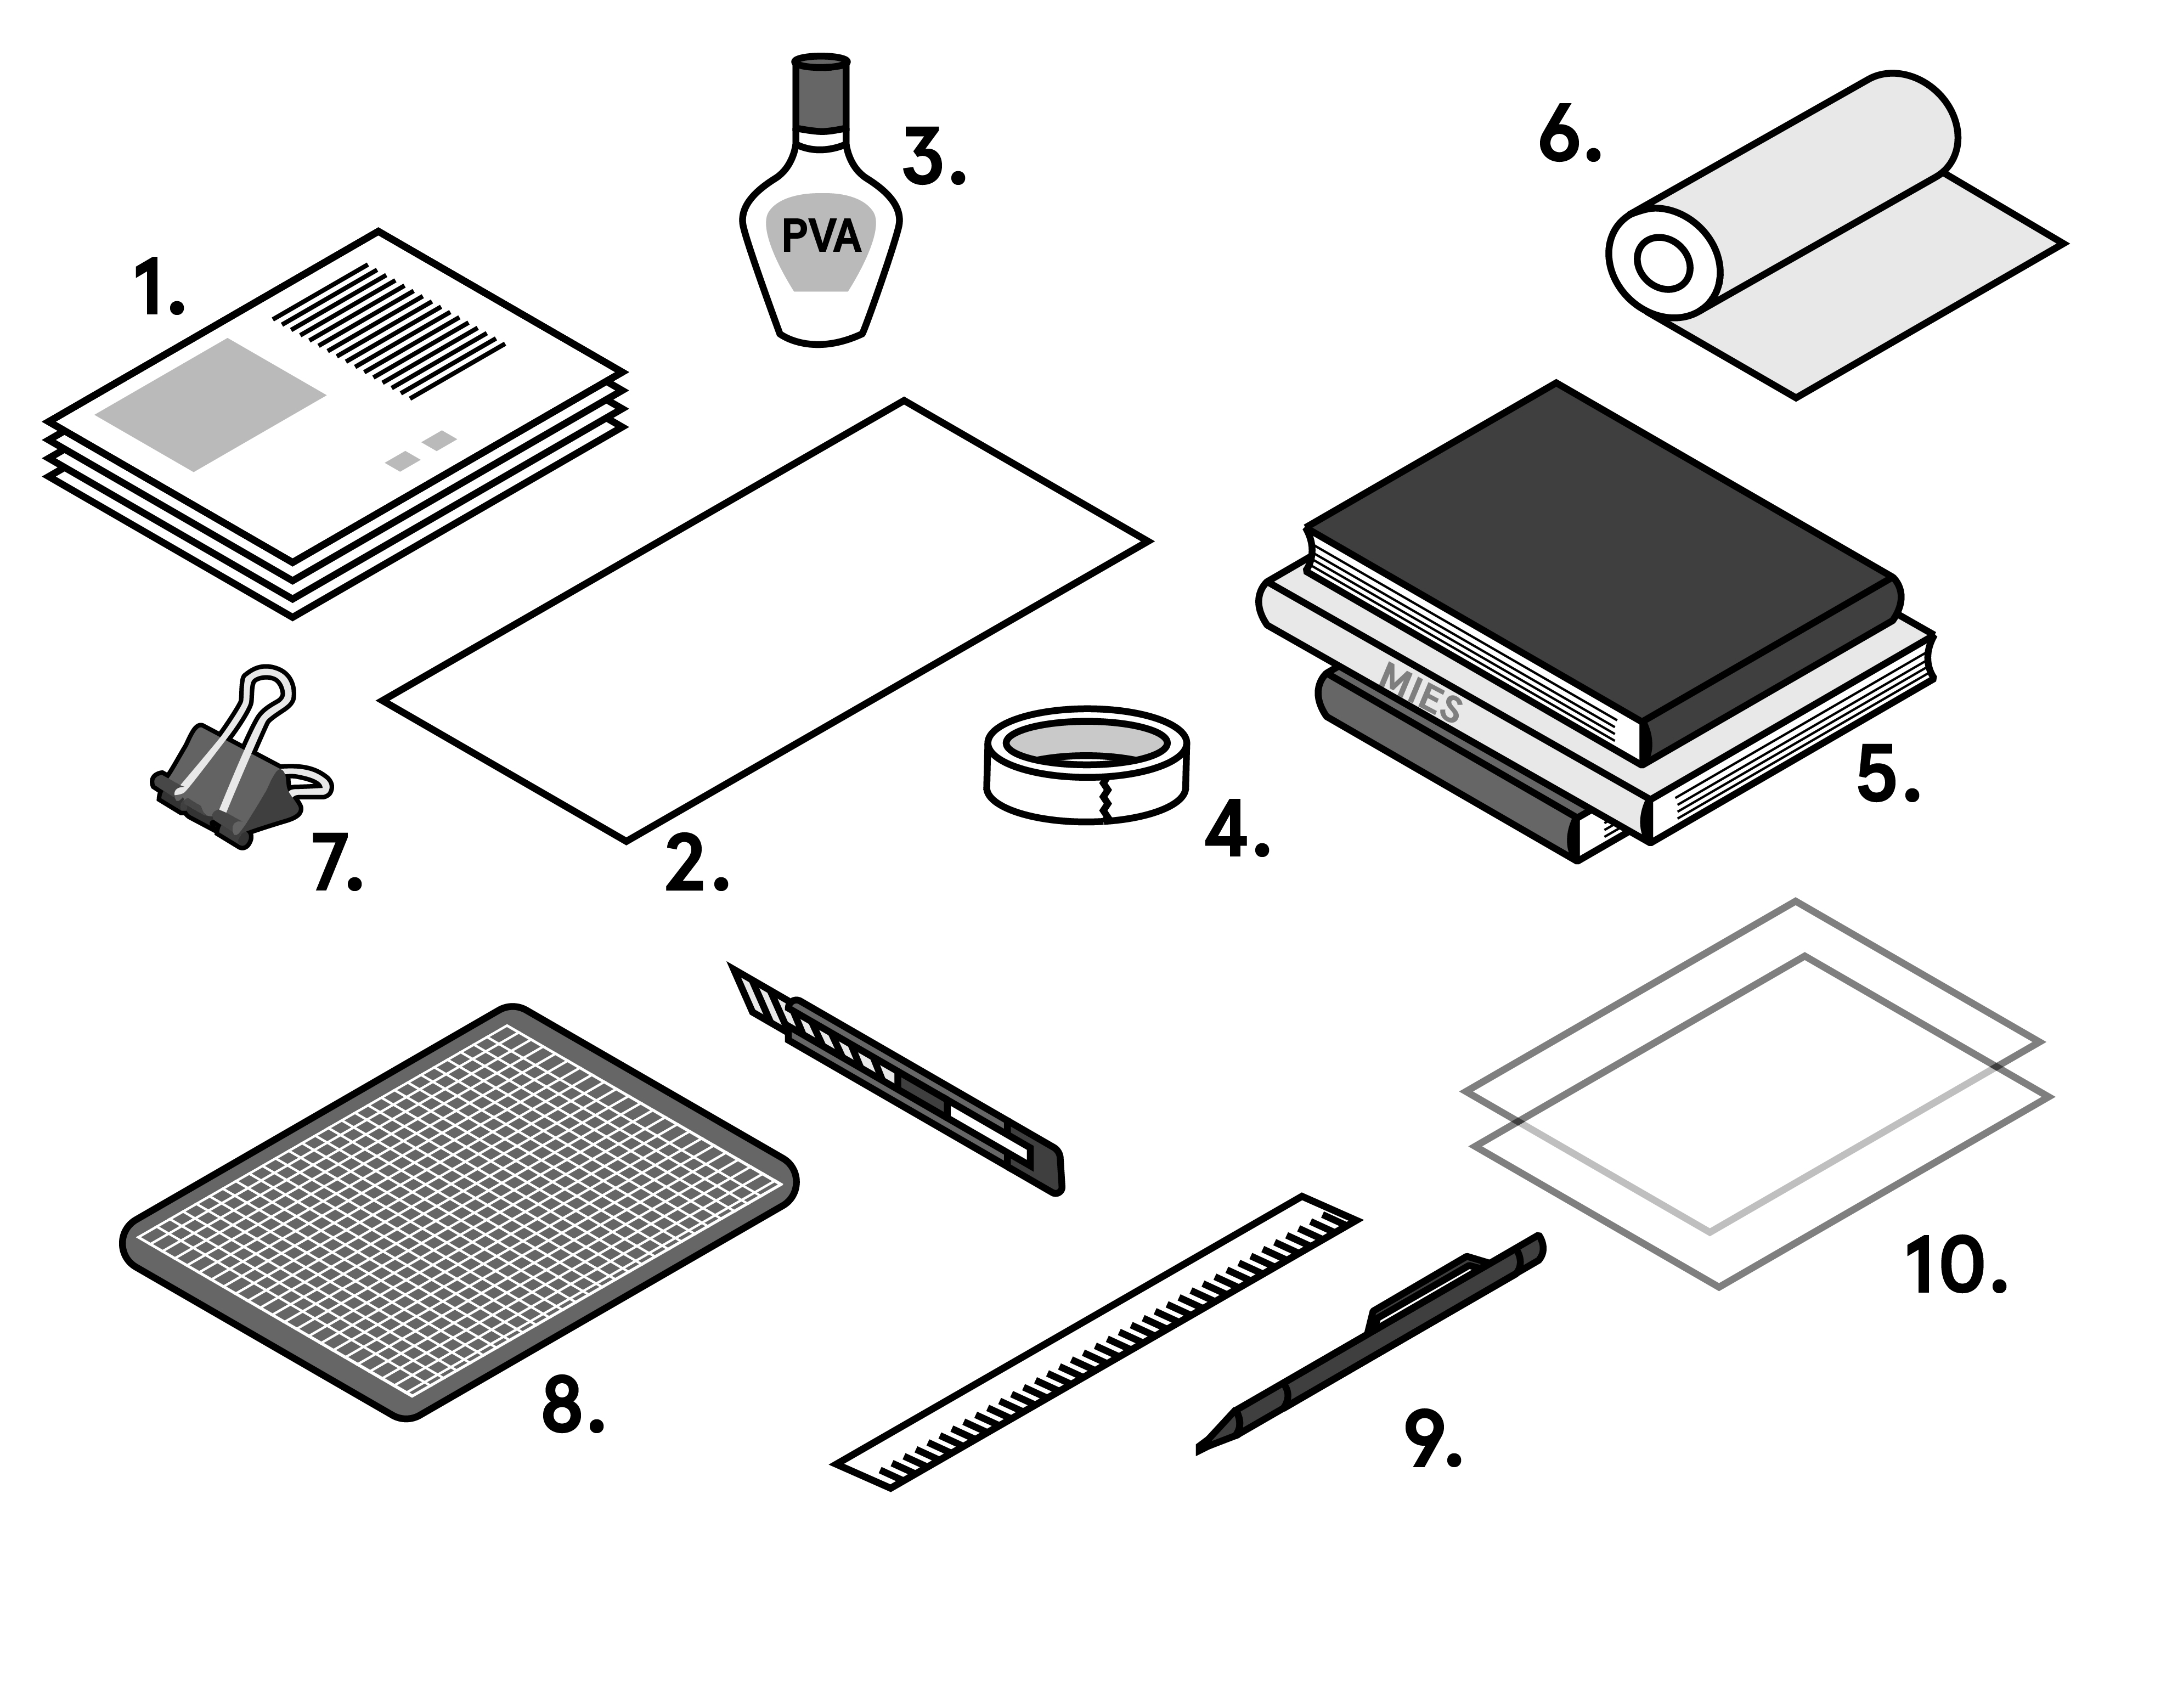
Materials/equipment for the simple bookbinding:

- printed pages
- paper for the cover (dimensions on step 7)
- PVA glue
- Masking tape
- Weight (heavy books)
- Any scrap paper (I used a roll of craft paper)
- Bulldog clip/s (if necessary)
- cutter & cutting mat
- Mechanical pencil & 30cm metal ruler
- Any extra paper you like to insert (e.g. tracing paper, coloured paper)
4. Folding

Simply fold each A4 paper in half. After folding all pages, put them in the right order & orientation. If you want to insert other materials, this is the time to put them in! For example, the use of tracing paper is an effective way to separate chapters.
5. Cramping & scoring

Hold all pages and make sure that the edges are nice and smooth. Especially, the spine side has to be neat so no page will fall off after glueing together. For cramping, I put a strip of craft paper (or any scrap paper) around the pile of pages tightly and put a masking tape. You can also use bulldog clips to hold together, however, just make sure that the camp mark doesn’t appear on the pages.

On the spine side, use the metal end of a mechanical pencil or a metal ruler (or anything that will help…) to score and create grooves. This will help glue to be on every page. I put grooves at around 1.5~2cm intervals but feel free to change the interval.
6. Putting glue on the spine & drying

Put PVA glue on the spine. I use my finger to spread it and to make sure that it completely covers the surface. The first coat has to be done well in order to make sure that all pages are firmly stuck together.

Place it under the weight – I fetched a few heavy books from a library and put a scrap paper between them, so the glue doesn’t get on the books. I recommend glueing pages together at night and drying it overnight.
It is better having (at least) two layers of the coating so the spine is nice and firm.
7. Creating the cover

For the cover of the A5 size, you need to have a card with dimensions of 210 x (300 + thickness of spine) mm (see above). When you cut it out of a larger paper, give a few mm margin so you can adjust the cover width after folding and putting it on the glued book. Make sure that you add 1-2mm to the thickness of the spine to give some space for the cover material to bend.
After getting the dimension right, score the vertical line for the spine and adjust the cover width. Put PVA on the spine and let them stick together.
On the surface (both front and back side), measure 5mm from the spine and score vertical lines so you can open the front & back cover easily.
Optional: decorating!

Once the cover is done, enjoy decorating the surface (you can decorate before sticking the cover on the spine).

I hope that this article (and the previous one) helped you with your bookbinding project!! :)))
Please write any questions & comments on the ‘Leave a reply’ section below!

