
Since the end of last year, I’ve been slowly working on watercolour drawings of Australian native plants (though for last few months I haven’t been able to do much due to uni assignments…). The idea became a good fun project for multiple reasons – not only for own enjoyment of the process, but for more practical reasons as an architecture / landscape architecture student.


Reason 1: because you enjoy it (as a hobby)
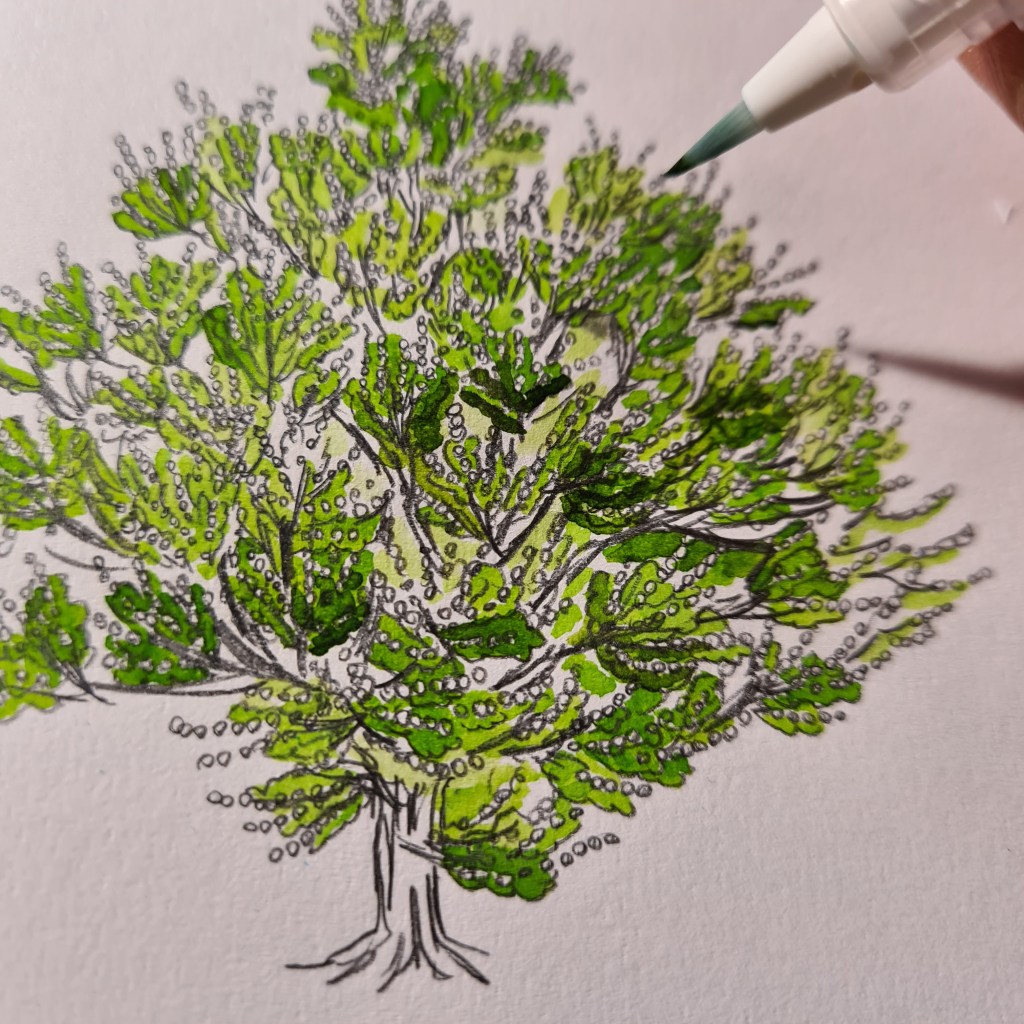
Just like any other creative people would agree, the process of creating / designing is fun, and it can be quite meditative. Take a fold-out chair to a park or your friend’s backyard, have a sketchbook and a preferred medium (I love my watercolour palette and a pen-style brush with water tank) with you. Spend time under the blue sky. Feel the breezes, look at a plant you chose, observe and draw.
Otherwise, you might study about plants first (see reason 2 below) then draw from photographs – it also works, there is no one way of doing it!)


Reason 2: to learn about plants
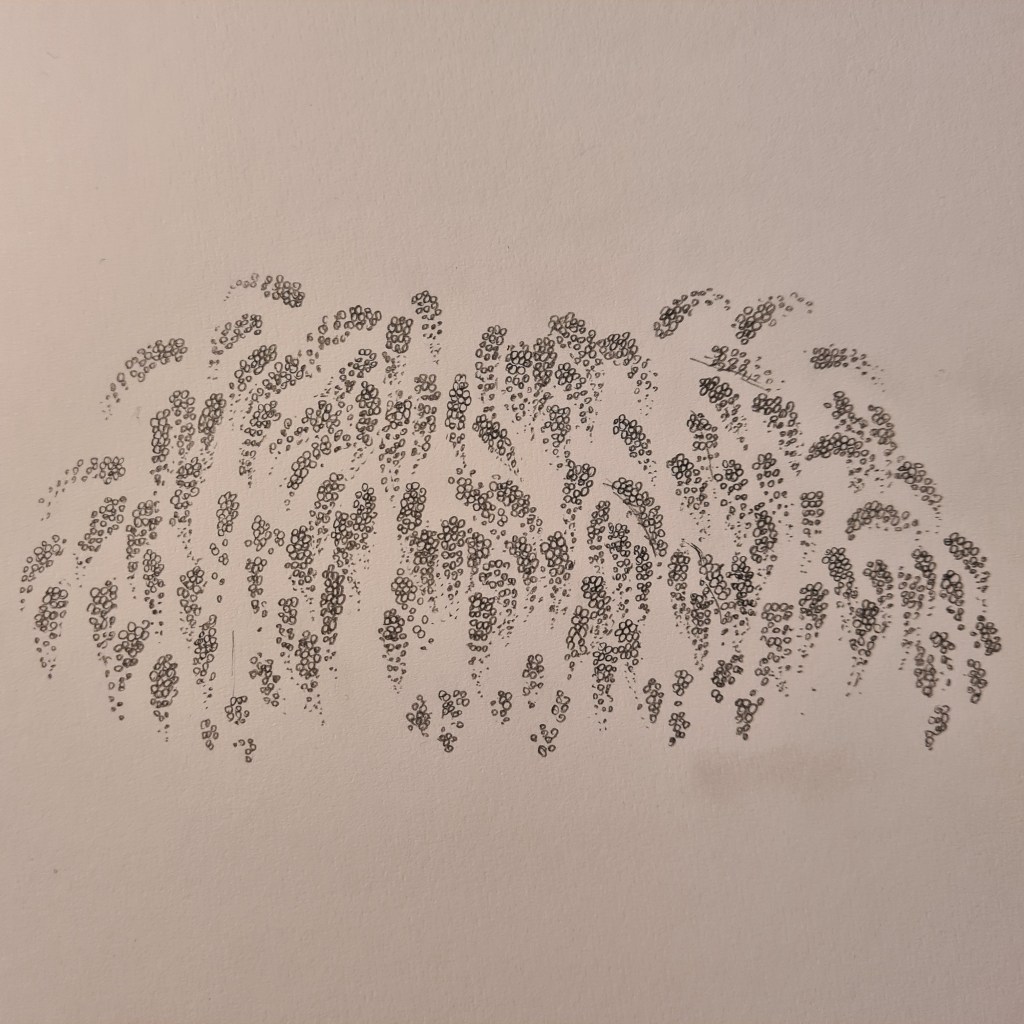
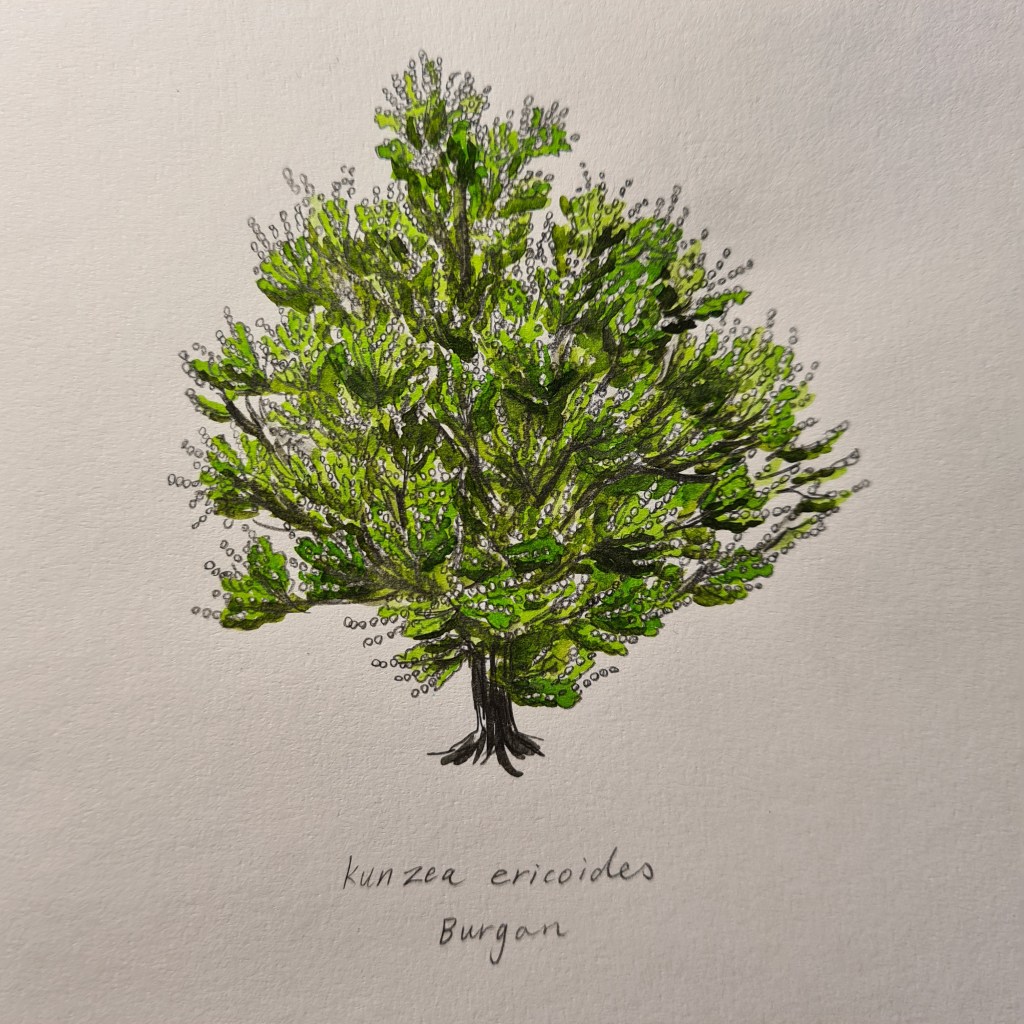
When you draw plants, you observe the overall structure (whether it’s a shrub, groundcover, creeper, canopy, etc), colours, density, scale and key details. It will help you realise how those plants work, and for what they can be used for. When I decided to start this project, I decided to focus only on the Australian native plants, to better understand the place I live and what may be suitable for my design projects which are mainly situated in Australia (see reason 4).

There are heaps of information available online, such as Royal Botanic Garden or NSW Flora Online website. If you’re a University of Melbourne student, you have access to Burnley Plant Guide, which is a rich database of plants accompanied with in-depth explanations about each species.

Reason 3: to create a stock of your own graphics
One of the frustrating processes during the production of 2D graphics for your design project may be looking through Google Images to find images of plants to photoshop into your space. It is not only tedious, but also time consuming.
Here are simple steps to turn your drawings into useful resource:
- Draw them, leaving white background
- Scan or take photos of them – check resolutions
Raster based format
- Clean up the background of images on Photoshop
- Export to png format
Vector based format (can be enlarged, can change colours, etc.)
- Import into Illustrator, use Image Trace to get the appearance you want
- Adjust the settings on Image Trace panel – control the colours, traced look, etc.
- Expand and clean up as required
- Save as a vector file
It may take some time to create a stock of your own graphics, but in a long run they will be an amazing asset for you.

Reason 4: to make your design projects more unique and special
This was the main reason I wanted to undertake this project – when using graphics readily available on Google, you can expect other people to have a similar work, using the same materials. But if you make your own illustrations for your design work, they are not just ‘yours’, but also expressing who you are as a designer. Furthermore, using graphic elements with a consistent style will strengthen the quality of the space depicted in the project.
There was one student in a year or two above me who had the total control over his graphic style; he drew all the plants and people, and used them extensively in his drawings. They were simple graphics, but final drawings looked stunning and cohesive as a whole. I was inspired by his drawings, and after using my plant illustrations to the perspective drawings, I feel so happy that I could give it a go.
For architecture and landscape architecture projects, it is also satisfying to be able to use the vegetation as a way of expressing the site specific response – e.g. using Australian plants for a project located in Melbourne. Not everyone would pick it up (unless you mention…), but people who understand it would appreciate the effort. It’s a cool, subtle indication that you can demonstrate a deeper level of the understanding of the site context.

